Pre-Authorized Healthcare Forms (PAHCFs) are generated when you store a patient's card on file for future payments in the Vault or set up a Recurring payment plan. PAHCFs in Bridge Payments are used to capture the patient's consent and may help protect against chargebacks. You can email and/or print the PAHCF the moment it's generated and afterwards.
To learn how to email and/or print the PAHCF when storing a Card on File in Vault, see:
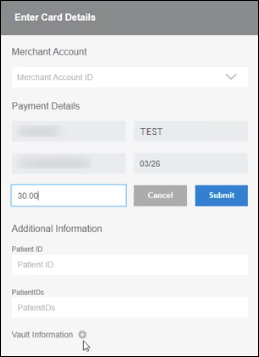
- Add a Card to the Vault During Transactions
- Add a Card Directly in the Vault Outside of Transactions
To learn how to email or print the PAHCF when setting up a Recurring payment plan, see Create Recurring Payment Plans.
Email and/or Print the PAHCF for a Card on File in Vault
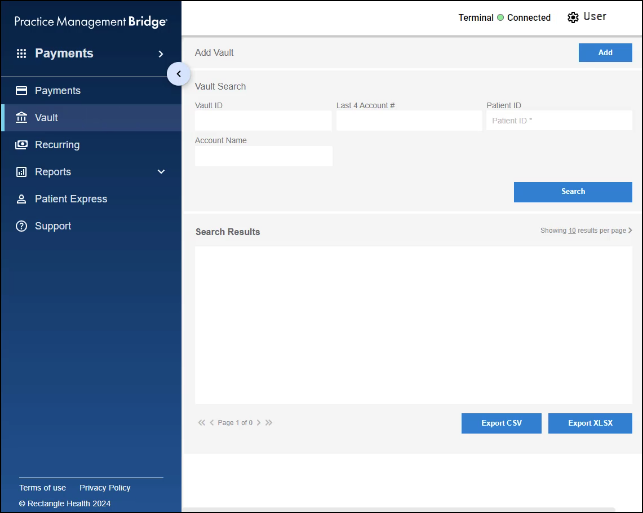
- Select Vault from the left menu in Bridge Payments.

- Enter your search parameters in the available fields and click the Search button.
If you run a search without parameters, all patients will appear in the search results. - Click on the Vault ID for the account you wish to provide the PAHCF to.
- A pop-up will open with options on how to provide the PACHF.
To email the PAHCF:
- Enter a recipient mail address(es). If there are multiple addresses, separate them with a comma.
- Enter a subject for the email.
- Click the Email button.
The pop-up header will show Sending Email… while sending the email.
The pop-up header will show Email Sent after the email has been sent.
The pop-up header will show Error if the email cannot be sent.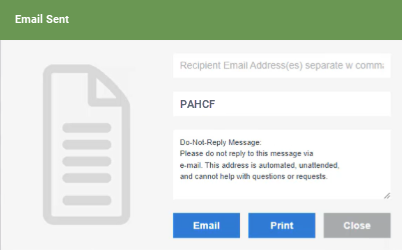
To print the PAHCF:
- Click the Print button.
- Wait for the Browser Print pop-up to open.
- Format as desired, then click Print.
Email and/or Print the PAHCF for a Recurring Payment Plan
- Select Recurring from the left menu in Bridge Payments.
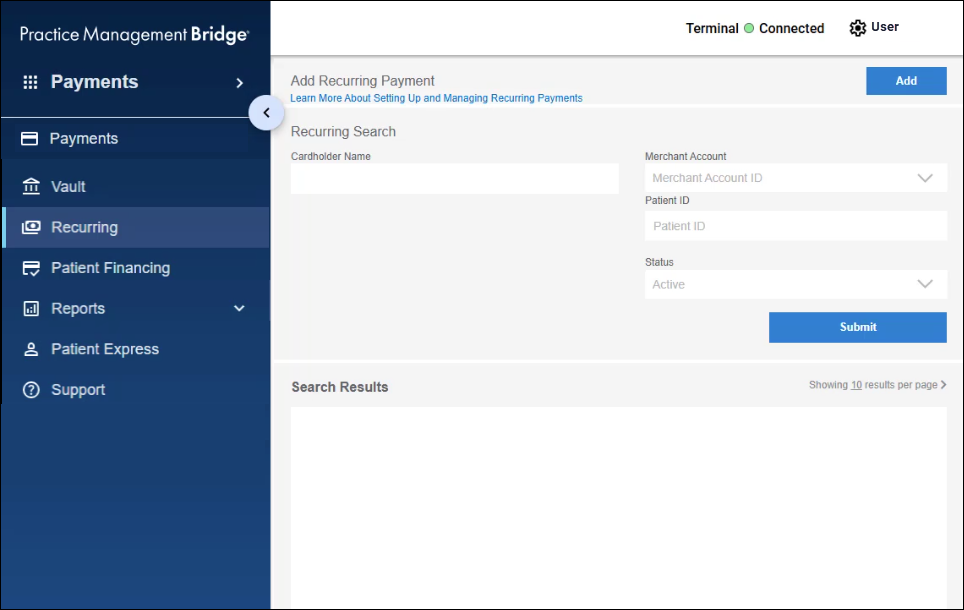
- Enter your search parameters in the available fields and click the Submit button.
If you run a search without parameters, all patients will appear in the search results. - Click on the Recurring ID for the account you wish to provide the PAHCF to.
- Click PAHCF on the Recurring Payment Plan Details pop-up.
- A pop-up will open with options on how to provide the PACHF.
To email the PAHCF:
- Enter a recipient email address(es). If there are multiple addresses, separate them with a comma.
- Enter a subject for the email.
- Click the Email button.
The pop-up header will show Sending Email… while sending the email.
The pop-up header will show Email Sent after the email has been sent.
The pop-up header will show Error if the email cannot be sent.
To print the PAHCF:
- Click the Print button.
- Wait for the Browser Print pop-up to open.
- Format as desired, then click Print.