Print a Transaction Search Report
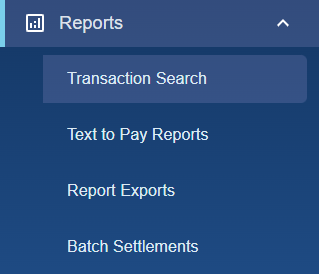
- Click Reports > Transaction Search.
- Select Transaction Search.
- (Optional) Use the search filters to narrow down the results of the transaction search.
To remove all search criteria, click Clear Filters. - Click Submit, and transactions will appear in the Search Results area underneath the search criteria.
You can include up to 999 transactions per report.
See Total Amount for a total sum of all the transactions in the Search Results area.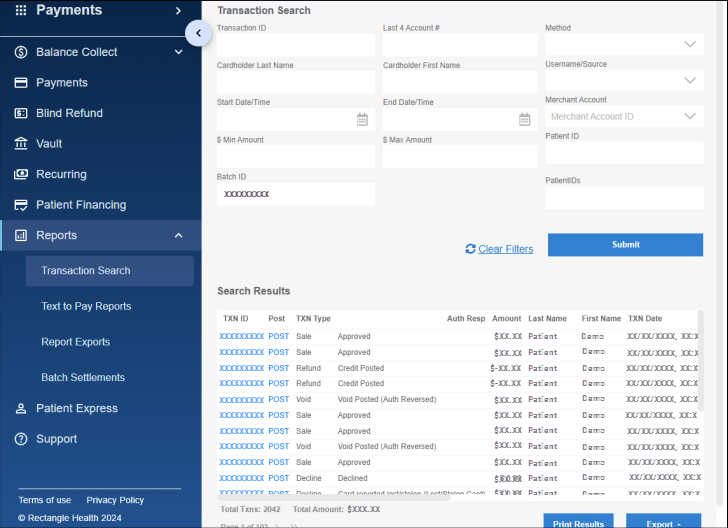
- Select Print Results.
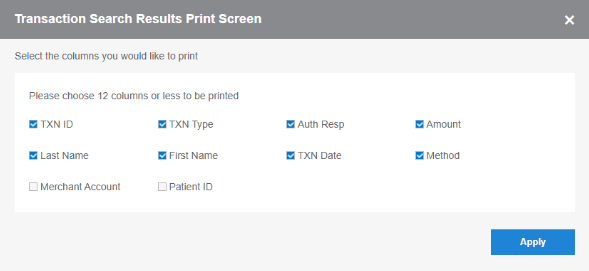
A screen will appear for you to select the columns that you want to include on your printed document. The first eight columns are auto-selected. You can select up to 12 columns per report. Options with blank check boxes are custom fields for your practice that are hidden. After you click Apply, a print preview screen opens for you to review and print the document.
Printing the report requires that the computer you use to access Bridge Payments has a valid printer destination. If you have trouble printing, confirm that you can print from a different application or website with the computer you are using.
Export a Transaction Search Report
- Click Reports > Transaction Search.
- Select Transaction Search.
- (Optional) Use the search filters to narrow down the results of the transaction search.
To remove all search criteria, click Clear Filters. - Click Submit, and transactions will appear in the Search Results area underneath the search criteria.
You can include up to 999 transactions per report.
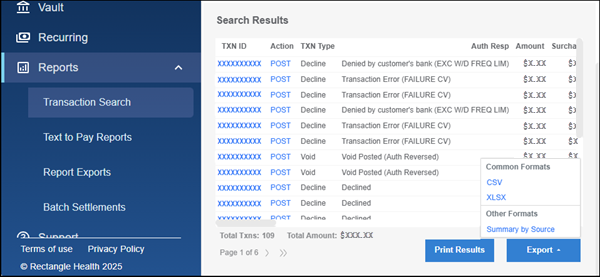
See Total Amount for a total sum of all the transactions in the Search Results area. - Select Export and choose the file type for the report export (CSV, XLSX, or Summary by Source).
What happens next:
- If the Transaction Search Report has fewer than 1,000 transactions: A Windows save dialog will open and prompt you to save the report.
- If the Transaction Search Report has more than 1,000 transactions but fewer than 50,000 transactions: The report will begin generating. You will receive a notification in Bridge Payments when the report is ready, and it will be available within Reports > Report Exports.
- If the Transaction Search Report has more than 50,000 transactions: You will receive an error message and the report will not be able to generate.