
You can email or print a PAHCF at any time after generating one during the creation of a recurring payment plan or when storing a card on file in Vault.
- Email or Print the PAHCF for a Recurring Payment Plan
- Email or Print the PAHCF for a Card on File in Vault
Email or Print the PAHCF for a Recurring Payment Plan
Interactive Walkthrough
To follow an interactive walkthrough of this process, see Emailing or Printing the PAHCF After Creating a Recurring Plan.
Text Instructions
- Select Recurring from the left menu in Bridge Payments.
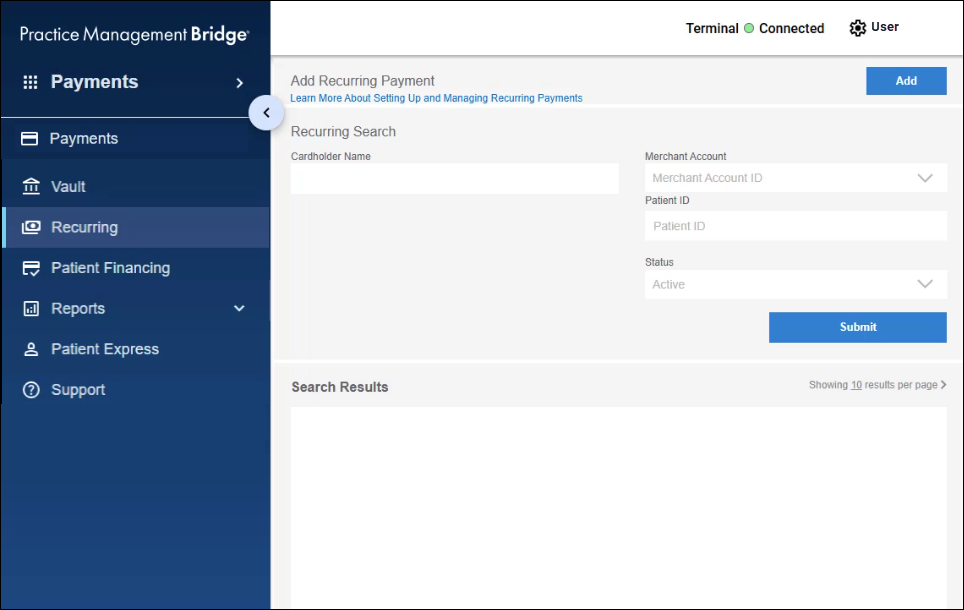
- Enter your search parameters in the available fields and click the Submit button.
If you run a search without parameters, all patients will appear in the search results. - Click on the Recurring ID for the account you wish to provide the PAHCF to.
- Click PAHCF on the Recurring Payment Plan Details pop-up.
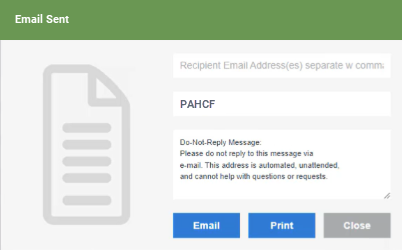
- A pop-up will open with options to view, print, or email the PAHCF.
To view or print the PAHCF: Click Print > wait for the Browser pop-up to open > view the receipt or format as desired and click Print.
To email the PAHCF: Enter a recipient email address > modify the default Subject line (if desired) > click Email.
What Happens Next
If you chose to email the PAHCF, you will see an indicator of whether the email was successful.
- The pop-up header will show Sending Email... while sending the email.
- The pop-up header will show Email Sent after the email has been sent.
- The pop-up header will show Error if the email cannot be sent.
Email or Print the PAHCF for a Card on File in Vault
- Select Vault from the left menu in Bridge Payments.
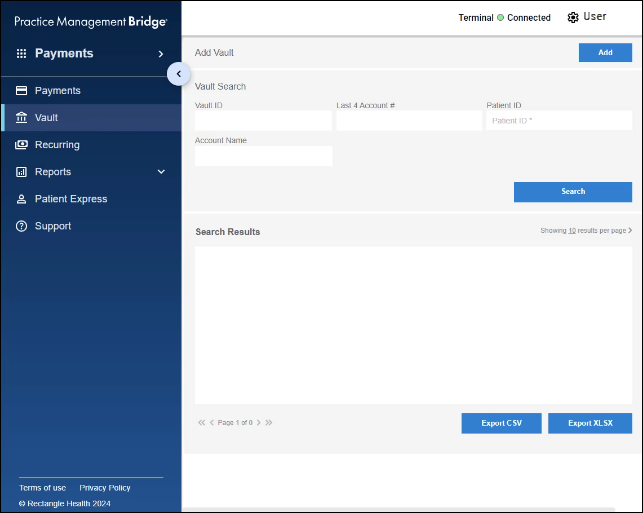
- Enter your search parameters in the available fields and click the Search button.
If you run a search without parameters, all patients will appear in the search results. - Click on the Vault ID for the account you wish to provide the PAHCF to.
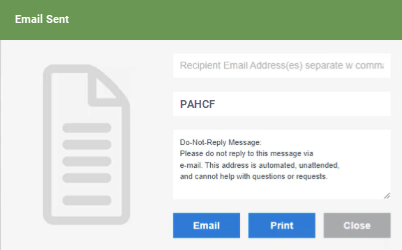
- A pop-up will open with options to view, print, or email the PAHCF.
To view or print the PAHCF: Click Print > wait for the Browser Print pop-up to open > view the receipt or format as desired and click Print.
To email the PAHCF: Enter a recipient email address > modify the default Subject line (if desired) > click Email.
What Happens Next
- The pop-up header will show Sending Email... while sending the email.
- The pop-up header will show Email Sent after the email has been sent.
- The pop-up header will show Error if the email cannot be sent.
Related Articles
To see how to email or print a PAHCF when storing a card on file in Vault or creating a Recurring payment plan, see the following resources:
Helpful?